Tools Needed for Milk Paint
TOOLS NEEDED FOR MILK PAINT
PREPARATION
The first thing you will want to do is find a great project to paint! If you haven't done this already, see my blog post Great Projects for Milk Paint for some creative ideas of things to paint and where to find them. Assuming you have something already, let's move on.

STEP ONE - FIND YOUR SPACE
You have your project. Now you need to decide where you are going to paint. If the weather is good, I love to paint outside either on the patio or driveway. Or even in grassy area, under a tree if it's hot. Light coats of milk paint dry super fast (ten to fifteen minutes) outside (as long as it isn't crazy humid).
If you are painting in the winter (or if it's raining), painting outdoors won't be an option, so you'll need to set up a place inside to paint. This is one of my very favorite things about milk paint - you can paint inside! With the windows closed! There are absolutely no toxins, no chemicals, no VOCs, no preservatives, no odor in Junkyard Goddess Milk Paint. None! So go ahead and paint inside with the windows closed. Won't hurt you or your children or pets one bit. Spills are super easy to clean up, as well. You only need a wet rag.
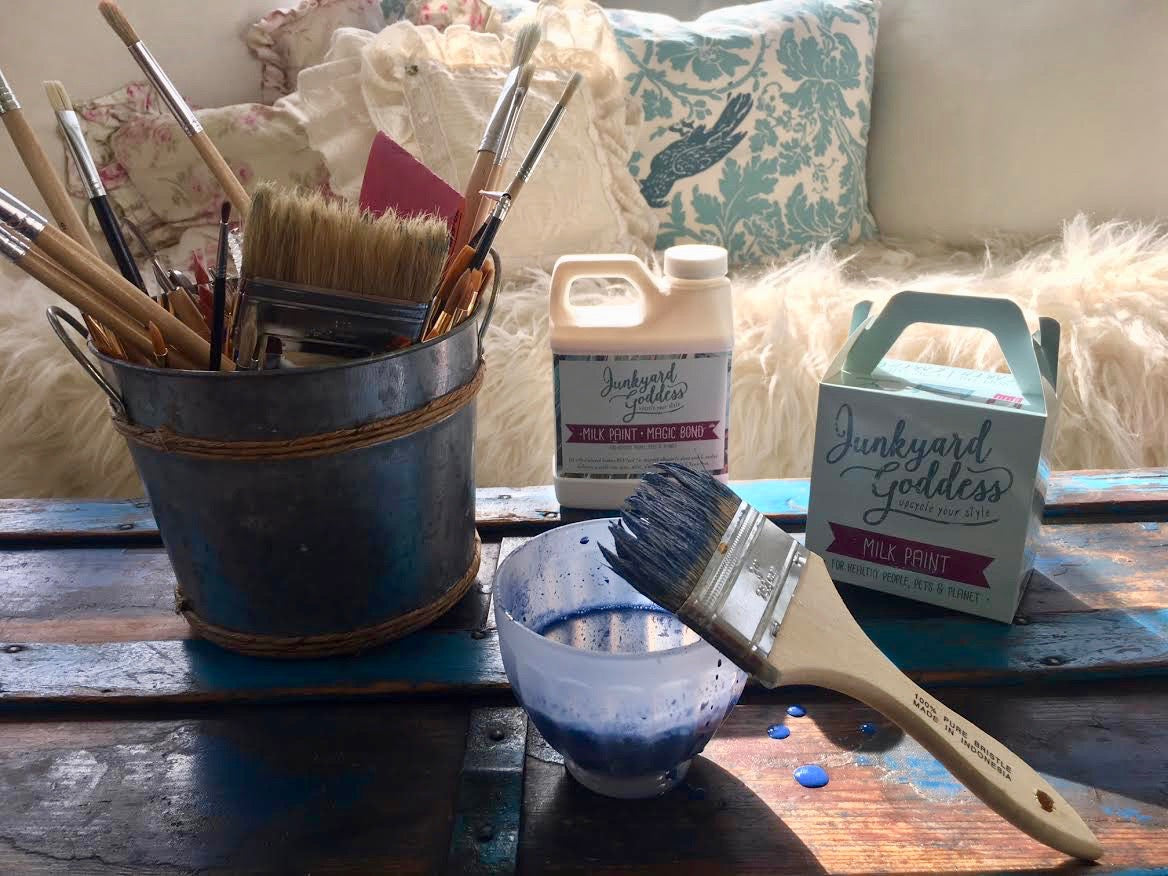
STEP TWO - GATHER YOUR TOOLS
There are some tools you will need to get together to paint your project:
- Milk Paint
- Water
- Measuring cup
- Container for paint
- Paint stick, spatula or whisk for stirring
- Paint cloth (or old sheet, newspaper, etc.) to place under your project
- Small table or work bench
- Wet and dry rags for clean ups
- Application tool, such as:
- Natural Bristle Brush
- Foam Brush
- Paint Roller
- Spray Gun
I personally prefer a three inch natural chip brush. It's quick, easy to use, and I like the texture that I can create with it. Plus, they are inexpensive.
STEP THREE - SET THE (PAINTING) STAGE
Now that the project has been chosen, the space to paint has been selected, and the tools have been gathered, it's time to set the stage in preparation for painting.
- Place your project in the center of the paint cloth. If it's a small project, place on a table that is covered for protection (or on a work bench). If the project is a piece of furniture, you will use the table for your tools.
- Gather your paint brush, rags, bowl, stirring tool, etc. and place on the table. Being organized is important because it allows you to focus completely on creating your art.
- Mix the milk paint. For directions on mixing milk paint, see my blog post How to Mix Milk Paint.
You are now ready to prep your project to be painted.
For tips on preparing your project for milk paint, see my blog post Prepping Surfaces for Milk Paint.
Also in Tips for Using Milk Paint
How to Measure Milk Paint
Follow
© 2026 Junkyard Goddess.
Designed by Out of the Sandbox.
Powered by Shopify